



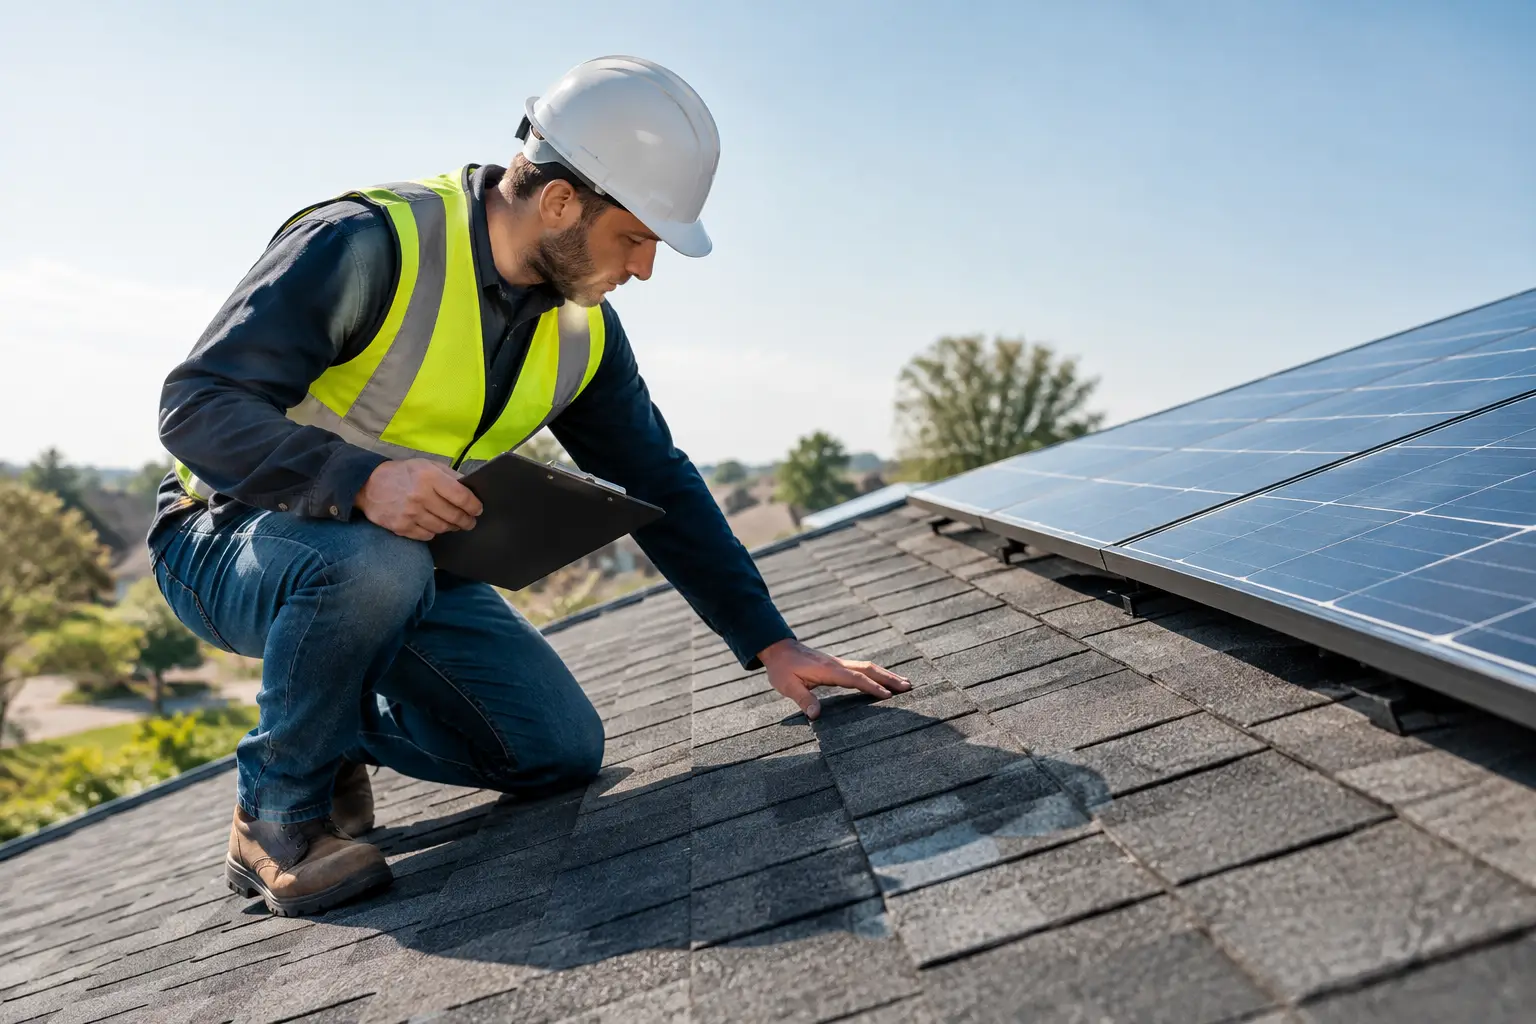
05 Oct Prepare Your Roof for Solar Panels Properly
A solar system is designed to perform for decades, so the roof beneath it deserves more than a quick look from the driveway. To prepare your roof for solar properly, start with its condition, structure and surrounding shade before panels are selected or an installation date is booked. A little planning now can prevent avoidable disruption later and help your system deliver the strongest possible return.
For South Australian homes, regional properties and commercial buildings, the right preparation also makes the installation safer, cleaner and easier to coordinate. It gives your solar provider the information needed to design around your actual property, not assumptions.
Start with the roof’s remaining life
Solar panels do not usually damage a sound roof when installed correctly. However, removing and reinstalling panels to replace ageing roof materials is an expense most property owners would rather avoid. If your roof is nearing the end of its useful life, arrange repairs or replacement before the solar installation where practical.
Look for cracked or slipped tiles, rusted metal sheets, deteriorated ridge capping, loose fixings, blocked gutters, recurring leaks and signs of water staining inside the roof space. On a metal roof, pay close attention to corrosion around penetrations, valleys and coastal-facing areas. On a tiled roof, broken tiles and failing bedding should be addressed before mounting hardware is fitted.
The question is not whether a roof is perfectly new. A well-maintained older roof may be entirely suitable for solar. What matters is whether it can remain weatherproof and structurally sound for the expected life of the system. If there is any uncertainty, a qualified roofing professional can assess the work before installation is scheduled.
Do not overlook asbestos and fragile roofing
Some older South Australian properties have roofing or related building materials that may contain asbestos. If this is suspected, do not drill, cut or disturb the material. Assessment and any required removal must be handled in line with applicable safety requirements by appropriately licensed professionals.
Fragile roof surfaces need special care too. The installation team needs safe access and a mounting approach suited to the roof type. Raising this early helps avoid delays on installation day and protects everyone working on site.
Check structure and roof access
Panels, mounting equipment and wind loading all need to be considered as part of the roof design. Most conventional homes can support a correctly designed solar system, but properties with unusual framing, past alterations, visible sagging or extensive roof damage may need a closer review.
Commercial buildings and rural sheds deserve the same attention, even when they appear to have abundant roof space. Wide-span sheds, older structures and roofs with existing plant equipment can have specific loading limits. A thorough site assessment identifies suitable mounting zones and avoids placing equipment where it could compromise roof integrity or future maintenance access.
Access matters as much as the roof itself. Installers need a safe path to carry equipment, position ladders or access equipment and work at height. Clear vehicles, garden furniture, stored materials and other obstacles from driveways and access points where possible. If access is tight, such as a narrow side passage or a steep block, let your solar consultant know before installation day.
Prepare roof for solar by managing shade
In South Australia, a north-facing roof often offers strong solar production, but it is not the only useful option. East and west roof faces can also work well, particularly for households that use power in the morning or late afternoon. The best design depends on your roof layout, electricity use and whether you plan to add battery storage.
Shade is a more significant issue than orientation alone. Trees, chimneys, neighbouring buildings, antennas and evaporative cooling units can cast shadows across panels at different times of year. Even partial shade can affect output, depending on system design and the equipment selected.
Before the site visit, consider which trees are likely to grow into the solar area over the next few years. Pruning may improve panel exposure, but it must be done responsibly and in accordance with local requirements. Never remove a significant tree solely on the assumption that more panels are always better. A quality design balances solar generation with the value of shade around the home.
It is also worth discussing future changes. A planned second storey, new pergola, extension or large tree planting could alter solar access. Telling your installer early allows the layout to account for those plans where possible.
Make room for panels and future maintenance
Your roof may have vents, skylights, satellite dishes, antennas, air-conditioning equipment or existing hot-water systems. These do not automatically rule out solar, but they affect where panels can be installed and how easily the roof can be maintained later.
Avoid relocating equipment yourself before a professional assessment. In some cases, leaving an item in place and designing around it is the most practical option. In others, relocation creates a cleaner, more productive panel layout. The right answer depends on roof space, shading, cable routes and the condition of the existing equipment.
Gutters should be cleared and roof drainage checked before installation. This is also a good time to identify any overhanging branches, loose flashing or areas that will be difficult to reach once panels are in place. Panels do not prevent roof maintenance, but planning access from the beginning makes ongoing care simpler.
Review your switchboard and electrical setup
Solar starts on the roof, but its performance and safety depend on the electrical system inside the property. Your switchboard may need room for solar protection devices, metering equipment and, if you are considering one, battery-related components. Older switchboards, outdated wiring or limited capacity can require upgrades before a solar system is connected.
Take clear note of where your switchboard, electricity meter and main electrical equipment are located. They should be accessible on the day of installation. If a locked gate, dog, stored goods or built-in cabinetry restricts access, organise this in advance.
This is the right time to think beyond panels. If you expect to add a Tesla Powerwall, BYD battery system, EV charger or a hybrid setup later, tell your consultant during the design stage. Allowing for future equipment can influence inverter selection, cable routes, switchboard work and where wall space is reserved. It does not always make sense to install every component at once, but a future-ready plan can reduce unnecessary rework.
Check approvals, tenancy and site details early
Most standard solar installations are straightforward, but approvals and connection requirements can vary by property and system type. Heritage considerations, strata rules, commercial leases, regional network conditions and unusual building configurations may all affect the process.
If you own a strata-titled home, operate from leased premises or manage a commercial site, confirm who has authority to approve roof works. For businesses, consider roof access arrangements, operating hours and any safety procedures installers need to follow. A brief conversation with building management before the site visit can save considerable time.
Your installer can also guide you through the relevant connection process and available South Australian rebate or incentive pathways where eligible. Keep recent electricity bills handy, as they help match the system design to your consumption and show whether daytime usage, battery storage or load shifting may offer the best value.
Get a site assessment, not a one-size-fits-all quote
A satellite image can provide a starting point, but it cannot reveal roof deterioration, concealed shade, switchboard limitations or access constraints. A proper assessment is where an experienced installer earns their place. It should consider the roof, energy use, electrical infrastructure, safety requirements and your plans for the property.
Allstate Solar designs systems around how South Australians actually use energy, whether that means reducing household bills, supporting an EV, adding battery backup capability or managing daytime loads at a commercial site. Fully licensed, accredited trades should assess the practical details before work begins, so the finished system is built to perform and installed with care.
Before installation day, make sure the roof and access areas are clear, pets are secured, and someone can provide entry to the switchboard and meter if needed. If weather, roofing repairs or a site issue changes the plan, it is better to resolve it properly than rush the job.
A solar system should feel like a long-term improvement, not a compromise made in a hurry. Start with a sound roof, an honest assessment and a design that leaves room for how your household or business will use energy next. Contact a qualified local solar team to arrange a site assessment and move forward with confidence.
No Comments